Thursday, February 16

around the corner

Last weekend Curt got out the power tools and hung our new reading lamps over the bed. They are perfect for reading and knitting, and a much better lighting alternative to the headlamp I had to wear to bed. {not cute!} While he was at it, Curt hung a big frame that I get to fill with something fabulous along these lines.
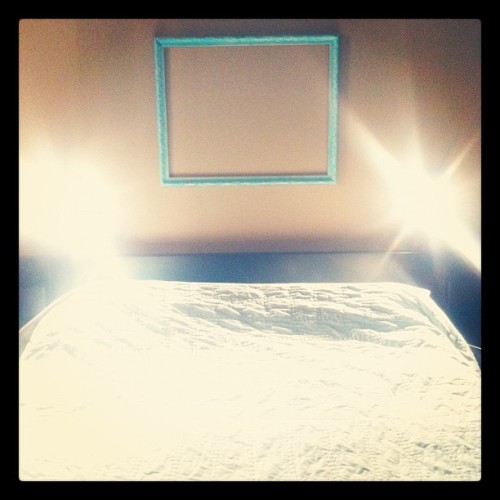

He also cleaned up the rogue suitcase and clothing situation that was happening in the corner of our room and now we are left with a wide open canvas to decorate. It's currently quite the blank space along the wall opposite our bed. The vaulted ceiling begs for art and photography while the open corner seems the perfect spot for a comfy chair and some chic storage. So obviously I took to Pinterest to search for some corner inspiration.


Source: bing.com via Brittney on Pinterest


Source: tumblr.com via Brittney on Pinterest


Obviously this collection contains vastly different design styles, but here are the underlying connections I like:

*Chair - must be comfy with an accent blanket or pillow. I don't think we have room for an ottoman, but it definitely makes kicking back and reading a book a little more comfortable.
*Lighting - I like the idea of a floor lamp with a small footprint but makes the area well-lit. A few of these corners also have unique lighting hanging from the ceiling, which adds a bit of interest while making the corner space feel a little more self-contained.
* A table or storage - ideally Curt will build some kind of lidded crate that can hold extra sheets, much like the savaged wood bench corner above.
*Mirror - we are in desperate need of a full-length mirror. Most days I either hope my top and bottom match, or stand on the edge of the tub to get a good view in the bathroom mirror.
*Art - Like I said above, we have a large wall to fill with something. While I like the settings with frames hung in the corner, I am worried that would make the wall feel unbalanced. I don't have any solution right now, but I'd love to hear your opinions and suggestions!
*Accents - These are my favorite parts of the corners: an added bit of whimsy in the form of a plant, flowers, colorful books, baubles, knick knacks or vintage containers. I will definitely be hitting up some local vintage flea markets to fill in these spots.

I plan on keeping watch at HomeGoods, Goodwill, Craigslist, and other cheap furniture spots for a comfy chair. I'm not against recovering/reupholstering something, so we'll see what we can find! 


post signature

Wednesday, February 15

15 february 2012

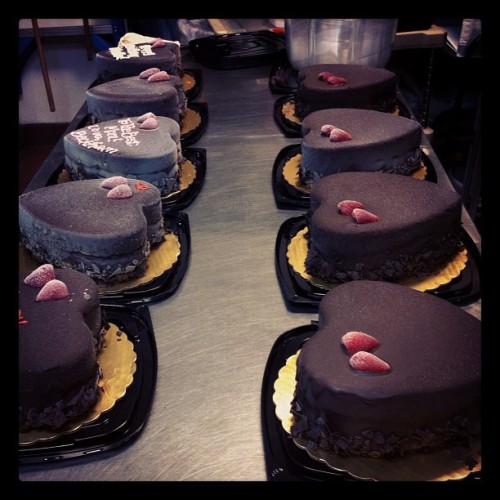
It's Wednesday! February 15! Valentine's Day is done and over and I couldn't be happier. Sounds a little sad, I realize, but I have spent the last week fulfilling over 50 Valentine cake orders. I kept my focus on today - the day I can forget about heart shaped cakes until next year. The truth is, I should really be looking forward to tomorrow, because today I have to fill in all those glaring blank spots in the cake display. Tomorrow - tomorrow I can really relax.

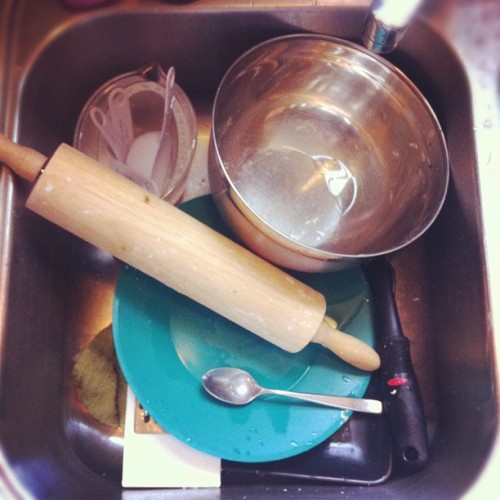
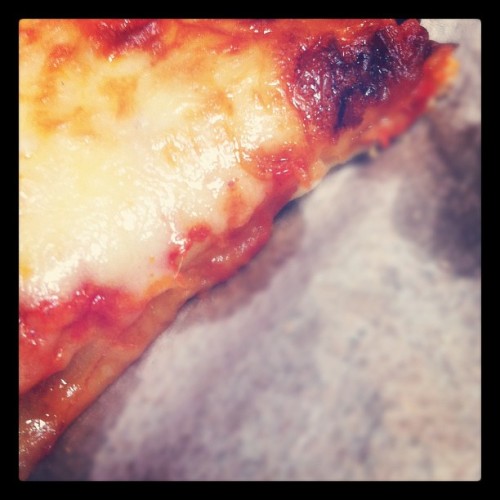
Furthermore, today is not only the midpoint of the week, but of the month as well. If you're on Instagram (I'm bdanderson on there), you may have noticed a lot of people playing along with the February photo a day prompts. Here's the first half of my month:


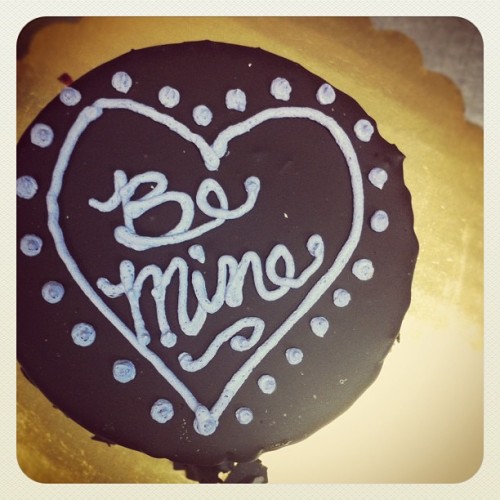
That last photo is the little cake I made for Curt for Valentine's Day. It's the same flavor as all those heart cakes {I definitely wanted to sample the cake - strawberry ice cream + chocolate shavings with red velvet cake, and chocolate ganache top. It was yum} He got me a box of Hot Tamales {my favorite} and a pretty red rose which found itself in an old maple syrup bottle now residing on my bedside. 

Not only was he so sweet to think of me, but he also got gift cards for ice cream for our moms and sisters! Yep, he's a keeper! 

How's your February going so far? Can you believe it is already half over?! Spring is just around the corner and I can't wait - it's been nothing but rain and cold here for weeks. Here's looking forward to a warm and sunny rest of the month! 

post signature

Friday, February 10

Memory Quilt

This post is long overdue, but here ya go anyway :)

My uncle passed away a little over a year ago, leaving my sweet Aunt Beth and cousin Jelena. He also left quite the collection of t-shirts representing all the things he loved: Detroit sports, the University of Michigan, and Harley Davidson. My aunt commissioned a quilt made of the shirts to help preserve his memory.
I have to admit I was hesitant to start, primarily because I had never done a quilt like this before. I tend to avoid knits like the plague and the thought of an entire quilt of knit fabric scared me. In the end, it wasn't so bad and I thought I'd share what I learned so you will be inspired to jump right in on your own memory quilt.
I started by cutting all the shirts down to just the printed area. I held onto the backs and extra fabric in case I needed to fill any gaps later.

After cropping the designs, I laid out the quilt in a very rough shape so I could get an idea of size. I wanted a good couch size quilt, around 60"X70" and had just enough tshirts to make that work. {I should mention here that these shirts were large sizes, so you would need more small shirts than represented here.} 

I ironed lightweight interfacing {the cheap $0.99 stuff from Joann's} to the back of each shirt to help prevent weird stretching before cutting it down to exact size.
I did a little math and figured I could do four rows of shirts, each cut to about 14.5" wide. I bough two yards to fleece, which gave me about a 72"X58" backing I needed to fit. After trimming each shirt to that width, I laid them all out again and got a feel for how tall each piece needed to be. 

This was a bit of a puzzle - I wanted to make sure the colors were well-balanced while keeping the columns close to even in height. After I got them where I wanted I started sewing them together, cutting lengths as I went. 
Sew the columns to each other and voila! - you have a quilt top. I opted to just sew the front to the back - right sides together - and then flip it right side out {envelope style}. I did two rows of top-stitching around the edges to finish the opening and give the quilt a nice finished edge. The nature of the fleece and interfaced-shirts make them stick together fairly well, I didn't feel the need to do any quilting. The resulting quilt is a very nice, heavy weight, perfect for cuddling on the couch and staying warm through those cold Michigan months. 
If you are considering a t-shirt quilt, I highly recommend just jumping in. Interfacing is key, but beyond that, there's really no rules. No one will be looking to see if your seams are straight because they will be admiring the shirts and the memories they bring. It's also a great way to clean out those drawers full of old shirts you can't bear to part with but don't wear anymore.

Have you ever made a t-shirt quilt? Do you have any more tips to share? 

post signature

Friday, February 3

Let Them Eat Pretty Cakes

I have been seriously craving springtime lately, and my latest cakes are obvious evidence of that desire. I've been looking for excuses to decorate with colorful flowers and doodley dots and designs. For you view pleasure:
That little guy {cheesecake ice cream + raspberries with chocolate cake and ganache} tasted pretty darn good if I do say so myself. 

Where are you finding springtime inspiration? 

post signature

Wednesday, February 1

Washi Keyboard Complete!


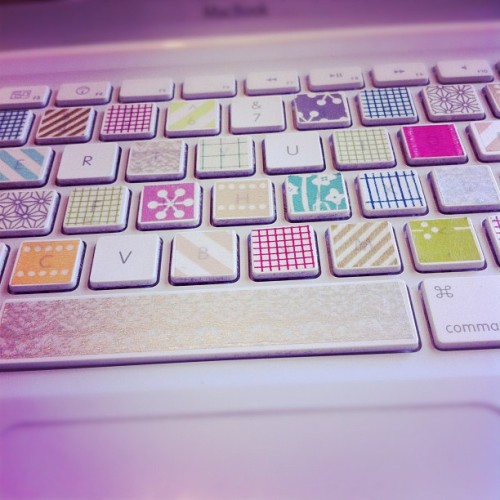
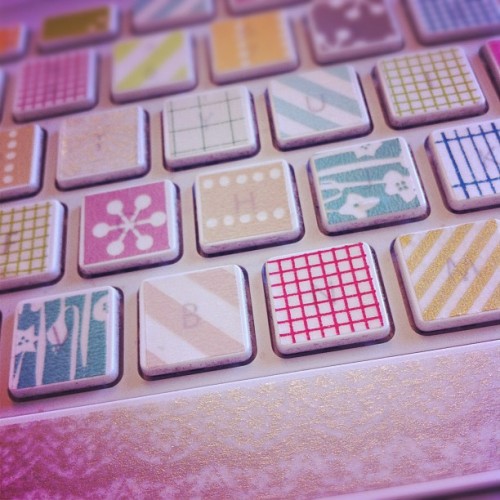
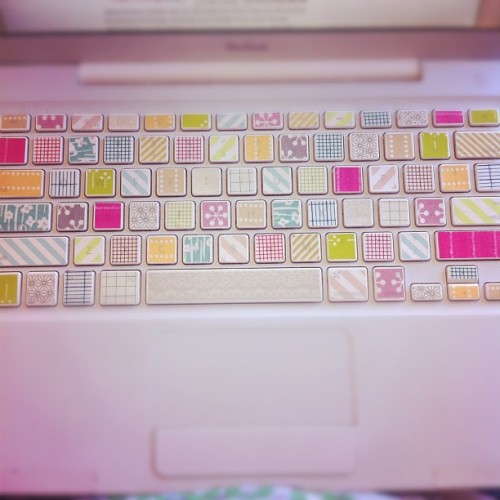
I received my washi tape from Le Box Boutique today and immediately got to work on sprucing up my keyboard:


After an hour or two of careful measurements and sticky tapes, I had a beautiful new keyboard:


The coverage tests my typing knowledge, but for the most part I can still see the letters under the tape.


I love, love, love it and can't wait to find some other uses for all this adorable washi tape! 

post signature

LinkWithin

Related Posts with Thumbnails