Showing posts with label tutorial. Show all posts

Saturday, January 21

Tutorial: Seat Belt Pad

My sad, old seat belt pad was looking worse for wear and I really don't think it was doing anything anymore, so it was time for a replacement.


The construction is simple: a rectangle with a pair of velcro stitched down the sides. Easy peasy, right? Here's what I did:

You'll need:
Two pieces of fabric, cut to 7.5" X 8.5" - (If you want a longer pad, increase the 8.5" length)
Padding cut to the same size (I used leftover fleece and poly batting)
8" of Velcro

1. Cut your fabric to size. 
**You can also use scraps and piece them together to size.**

2. Cut your padding to size. I had some leftover fleece and poly batting that I used, but you could use virtually any kind of batting and make it as thick or thin as you want.

3. Make sure everything's nice and ironed.

4. Stack up your fabric as follows: 
~Fabric- right side out
~Padding
~Fabric- right side out.

5. Serge it together around all four sides. 
**If you don't have a serger or overlocker, you can use a wide zigzag stitch on your regular machine. Just cut your original pieces to 7"X8" because the serger trims down the edges.**

You should now have a cushy, rectangular pad 
that's roughly 7"X8".

Make sure your velcro measures the length of your 
LONGEST SIDES, around 8". Trim if necessary.

6. Sew the velcro to your pad. 
Make sure you are sewing it to the long sides. 
Trust me... I don't know from experience or anything...
When you get to the end of the velcro, 
stop with your needle down and turn the corner.

7. Sew one side of the velcro to the top, and the other side to the bottom. This way it will wrap around your seat belt. 
Make sure you are not sewing the velcro to the same side .. this photo shows one line of velcro, facing up on the left, 
and you can see the stitches of the other line on the right side,  velcro facing down.

Yay! You're done! Wasn't that easy?! Now make another one or three for your passengers. I made a his + hers for our car. 


For the Record:
I used fun Anna Maria Horner Loulouthi fabrics for my seat belt pads.
My serger is a Brother 1034D, which I got for Christmas and already love so much. 

Let me know if you make your own seat belt pads! They also make great gifts for just about anyone on your list. 

post signature

Wednesday, September 28

I have a problem


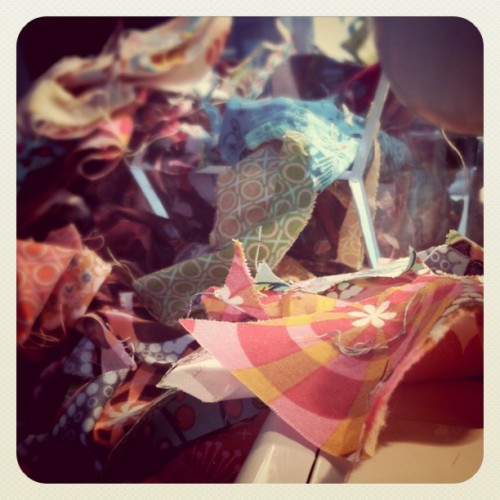
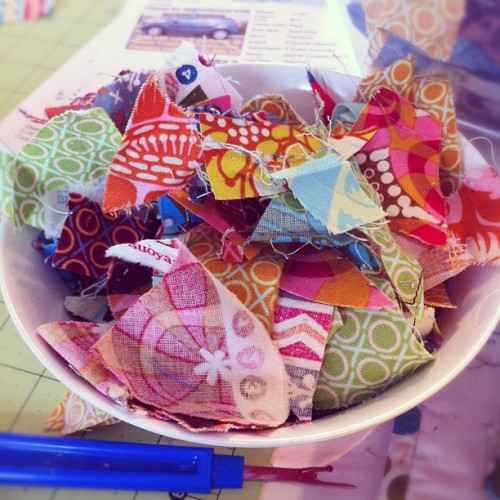
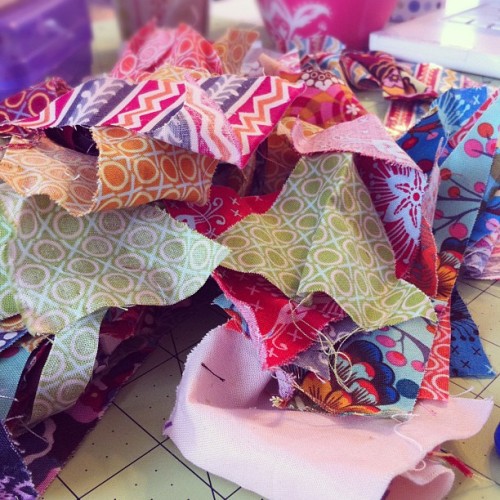
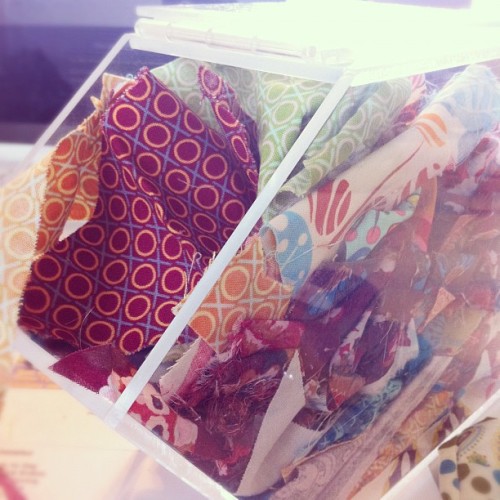
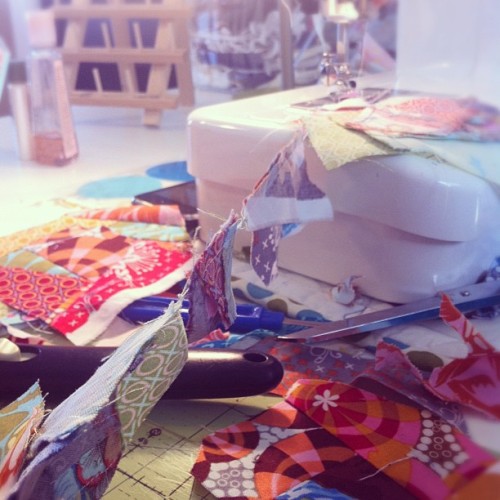
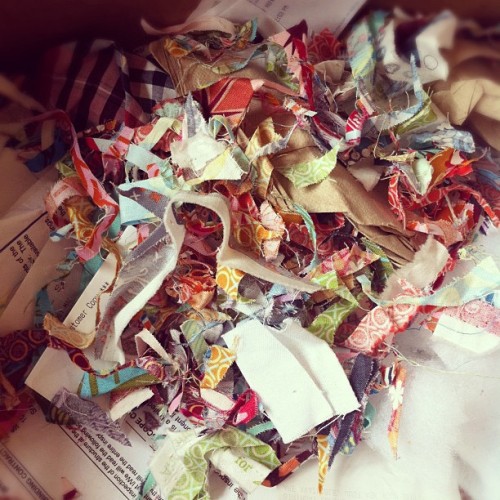
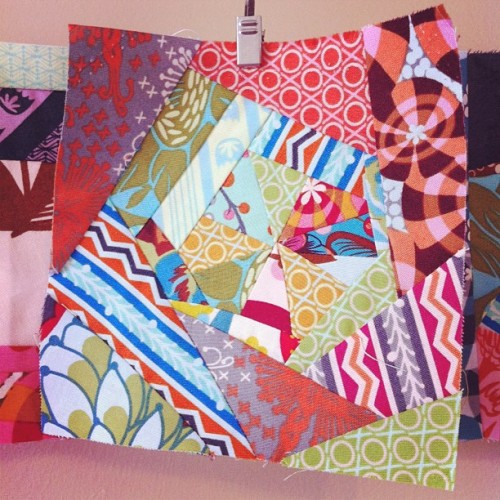
I have a problem. Some call it being frugal or economical. Some call it being a hoarder. Blame it on my Dutch heritage - I'm cheap, I don't throw anything out. But if you ain't Dutch, you ain't much. Long story short, I found myself with an incredible supply of tiny Loulouthi scraps left from Spring Quilt Market sewing. So I collected them all and started sewing them together.

Then we moved into our new house, my sewing fell by the wayside while I painted my new workspace, and the bits and pieces were left waiting rather impatiently.

Good news folks! My sewing desk is set up, not in it's permanent area and it needs a paint touch-up, but I'm sewing again. Which means all those bits finally got picked back up and I finished the last of 25 blocks last night.


Wanna know how I did it? It's a lot of fun, and a really great project for all those tiny chunks of your favorite fabric.

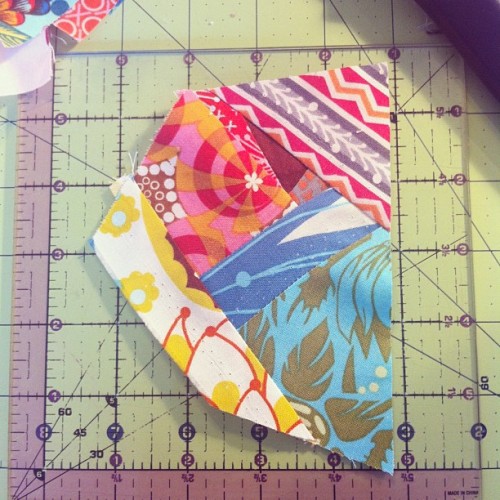
I started by sorting my scraps into sizes - crumbs, chunks, and legitimate pieces.


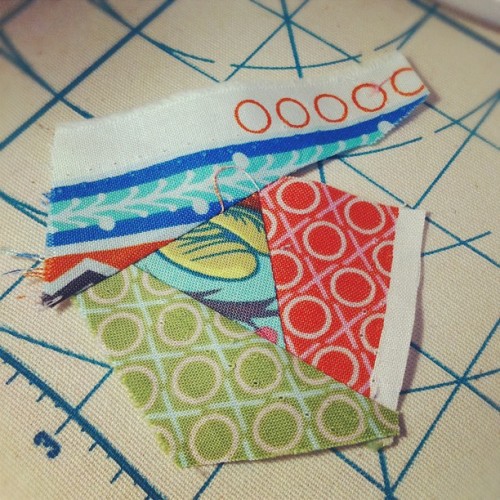
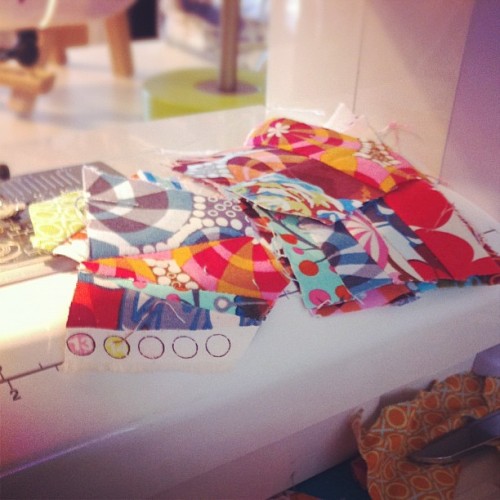
Then I just stitched the crumbs together, two by two, until I had a bunch, which I then started sewing to each other. This is a great excuse to do some major chain piecing!


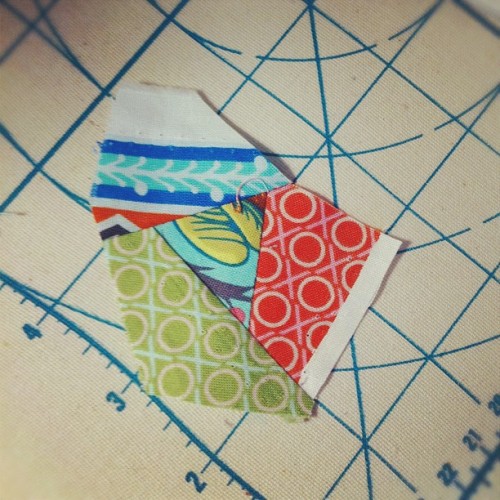
Add more pieces as your work them, trimming to get a straight edge for the next piece.


I didn't think too much about the fabrics I was adding, just tried to make sure I had a good mix of patterns & colors.


As my chunks of crumbs got bigger, I started taking pieces from the other piles to grow them into 6" square blocks.


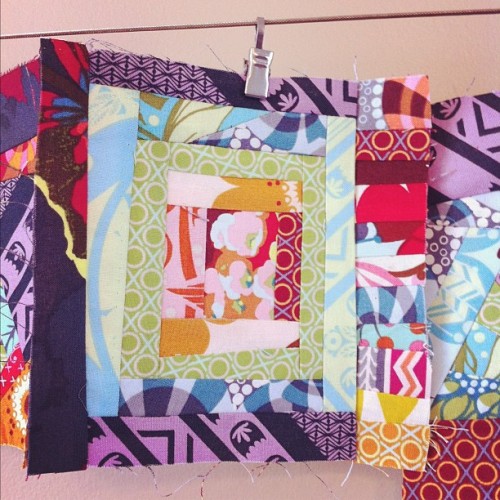
I did this a couple ways - a round-about log cabin style of adding strips around each side, and sewing chunks together.

This sometimes meant chopping off larger sections to get a square edge - but don't fear, just sew that into another block!


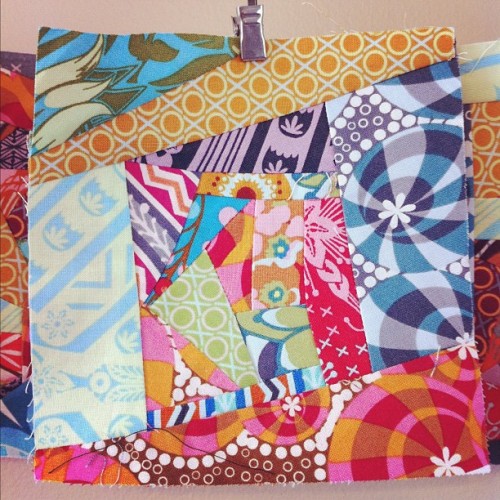
There is no planning in these blocks, creating lots of crazy angles and tiny pieces. Just keep sewing everything together - it's very relaxing!

(and you will make a basketful of the prettiest trash ever.)

I ended up with 25 blocks, all 6" square. I'm not sure what kind of layout I will do with them yet. I've considered sashing them, checker boarding them, or just piecing them randomly with neutral fabric to make a hodgepodge quilt in the spirit of the blocks.


I LOVE these fabrics and would like to make this a quilt big enough to enjoy myself. If that's not possible, I might turn it into a baby quilt for a future Lil' Anderson. (Future as in, I don't know when in the future .. no, I am not pregnant .. putting that disclosure in there because I know my family will ask.) I think it would make an amazing focal point for an otherwise subdued nursery.


Either way, I am happy to say my Loulouthi scrap pile has greatly decreased. And although my hubby hates multicolored quilts, he commended me on using only scraps to construct the blocks (aka "Thanks for not buying more fabric honey.")


Go forth and use up those scraps people! But before you do, please enter my giveaway. It's a nice thing to have in your back pocket. Happy Hump Day!

post signature

Sunday, January 23

New Shoes! (or, oh Happy Days!)

Not really, I already had the shoes, but they needed an upgrade, so in stepped a black Sharpie and some fabric paint and I have some newly minted old fashioned saddle shoes!


Want the SUPER EASY how-to? Three steps:

1. Buy a plain ole white pair of canvas shoes. I got these at Target for a whopping $9.

2. Use your Sharpie to outline the section you'll be painting black.

3. Fill in the rest with black fabric paint. I suppose you could do the whole thing with a Sharpie, but that would take longer and you might faint from the fumes.

Enjoy your new saddle shoes! These would also be cute in little tiny baby or kid shoes, and you could do another color too. Take black and white photos and pretend you are living in an episode of Happy Days. Preferably the one where The Fonz jumps the shark. 

As for my shoes, I'm going to wear them to work and pretend I'm working at an old fashioned soda shop. I'll be rocking them with my newly skinny-fied black pants, which were atrocious before but are now quite stylin.

Another easy how-to: Skinny Your Pants

1. Take you old pants, lay them flat. Lay a pair of skinny jeans you like on top and line up the double seams on each leg.


2. Draw a line along the old pair on the new pair. Sew up that line, easing your new line into the old line somewhere up the leg near the crotch.

3. Try them on inside-out and make sure they are okay, adjust as needed, then cut the excess fabric, I zig zag the seam, turn then right-side out, and rock what you got!

(ignore the fact that I'm wearing black and brown, and please excuse the terrible quality of these photos - they were taken late last night with my phone)

So quick - go out and re-do your wardrobe. Both these projects are super fast and the results are always pretty darn sufficient. 

post signature

LinkWithin

Related Posts with Thumbnails